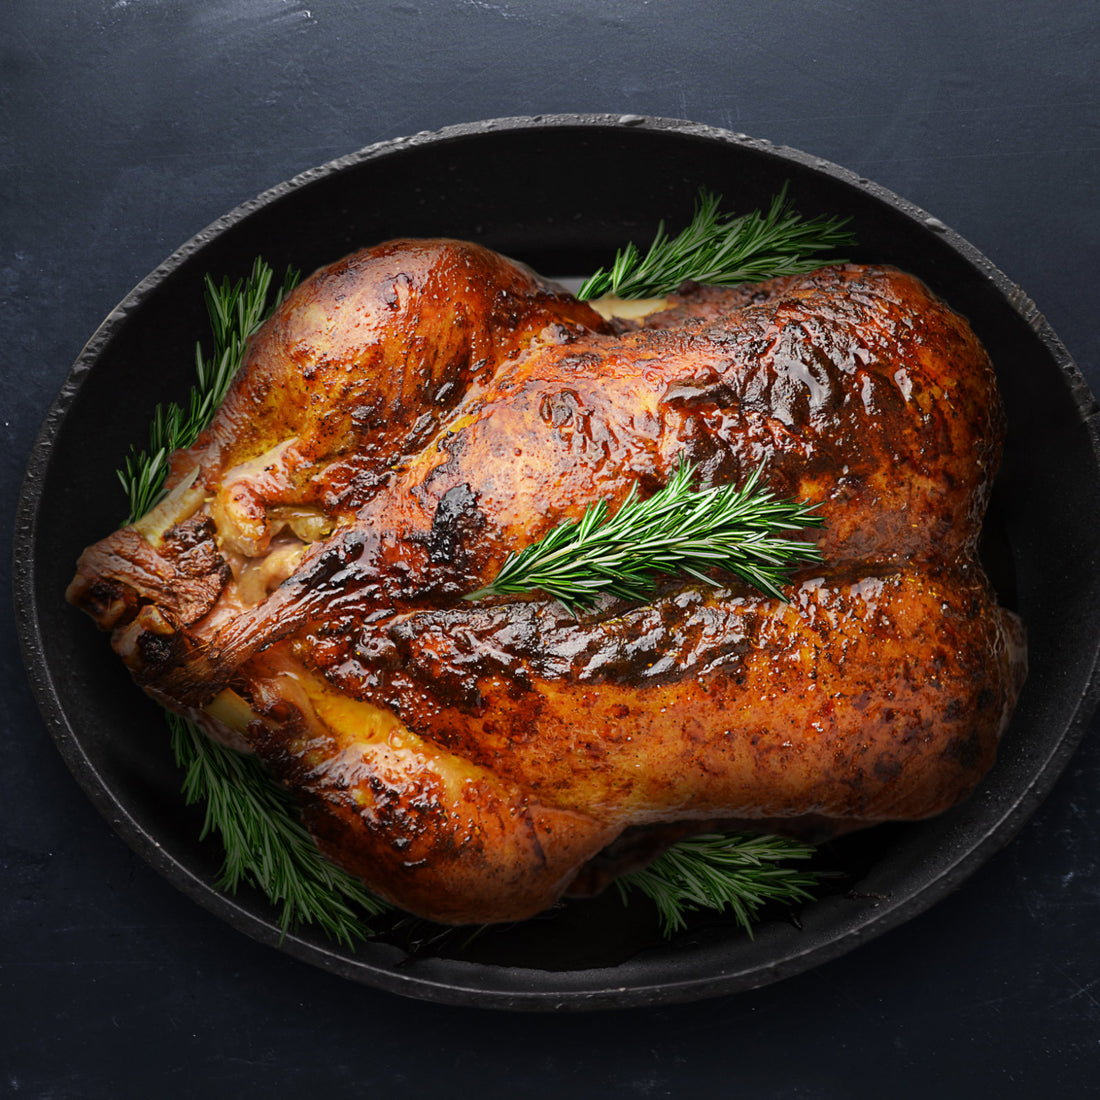
When you've taken the turkey out of the oven on Thanksgiving Day, your work isn't over yet. Correctly carving the turkey is an essential element of preparing a Thanksgiving feast, and doing this the right way will make all the difference in taste and texture.
While the nostalgic photos and paintings often depict Mom or Dad slicing the turkey table side while friends and family look on in awe, carving a turkey isn't tidy, and is best accomplished in the kitchen. Consider bringing out a platter of beautifully sliced turkey meat to lay out for your hungry guests instead.
Step 1: Select the Best Knife for Carving a Turkey

Before you begin, it is essential to gather the right tools for carving your turkey.
The one of the best turkey carving knives is a good, sharp chef's knife. The heft of the knife and its versatility are ideal for all the different cuts involved in cutting a big bird.
We recommend the Victorinox Swiss Classic 8" Chef's Knife, which has Victorinox's patented Fibrox easy-to-grip, slip-resistant, ergonomic handle.
Another great choice for a turkey carving knife is a hollow-edge slicer such as the Wusthof Classic 9" Hollow-edge Carving Knife. The hollow edge creates air pockets between the knife and the meat, reducing drag and making it easier for the knife to glide through as you carve the turkey.
Whichever knife you choose, you should not use a serrated knife to carve a turkey. The teeth on a serrated knife tear at the turkey, and do not result in clean slices.
The Swiss Classic Carving Fork is another essential, as it allows you to hold the meat in place safely while cutting, keeping your hands clean and your fingers safely out of the way of your carving knife.
Looking for more carving knife options? Shop our entire turkey carving knife collection >
Step 2: Choose a Turkey Carving Board
As you know, carving a turkey is a messy undertaking. The best carving boards for turkeys and other large roasts and meats feature a "moat" around the outside to keep juices from running off the board and onto your counter, or, worse yet, your Thanksgiving attire.
The Epicurean Carver Series 19.5" x 15" Carving Board has a moat, as well as a reservoir in one corner for gathering the valuable juices. In addition, a grid-pattern in the center of this board helps keep your turkey from slipping while you work.
This board is a great investment, as it's use isn't limited to just Thanksgiving Day. As a bonus, the moat is great for watermelon, as well, and the opposite side of this board is smooth, making it versatile and also a good choice for slicing bread and other foods that aren't juicy.
For a comprehensive selection of Thanksgiving Day tools, visit our Thanksgiving Essentials collection.
Step 3: Prepare the Platter
A large platter for the meat is also key. Adding on a little kale or another garnish before you start plating the turkey is a nice touch.
We recommend gently heating the platter in the oven before beginning to help keep your turkey meat warm while you work. You don't want to put your sliced turkey directly in the oven as you carve, as that will start to dry it out.
An aluminum foil tent placed over the sliced meat while you work will also help maintain the temperature. Carving a turkey takes some time, and these simple steps will help offset some of the cooling while you make your way through the carving process.
Step 4: Rest the Bird
As delicious as your turkey may smell hot out of the oven, let it rest for about 15 to 20 minutes before you roll up your sleeves and begin carving. This short delay will allow the juices to redistribute, keeping all of the "good stuff" from flowing out onto your carving board, which would leave your turkey dry and unappetizing. In addition, a turkey that's had a little while to rest is much easier to handle, as it isn't quite as hot to the touch.
Pro Tip: While the turkey is resting, be sure to hone or sharpen your knife of choice before you begin to carve so it's as sharp as possible. A dull carving knife blade can lead to accidents at worst, and will almost always crush and tear the meat, making turkey carving a much harder endeavor that it should be.
Step 5: Carve the Turkey, Step-by-Step
Once you have your essential tools and have let the turkey rest, it's time to begin carving.
Follow the steps below, and watch the turkey carving how-to video by Wusthof's Chef Mike. With a little practice, you'll be carving like a pro, too.
1. Separate the leg and the thigh from the rest of the turkey. Cut where the leg and the breast of the turkey meet, then pull the leg away from the turkey, and cut through the joint that is exposed.
At this point, you can separate the drumstick and the thigh, cutting through that joint, and then debone the thigh. The drumstick and thigh can then be added to the warmed serving platter.
Repeat this first step on the turkey's other side.
2. Remove the breast meat from the bones. Starting at the top of the bird, slice down, following along the ribs and pulling the breast meat out and away from the bones as you go.
3. Remove the wings, cutting through the joint that connects them to the breast.
4. Cut the turkey breasts into clean, even slices. Be sure to cut against the grain (crosswise) for optimal tenderness and attractive slices. Add these pieces to the platter, using the flat side of your knife as a "tray" to move all of the slices at once for a neater presentation.
5. Divide the wings into pieces, and add these to the platter, as well.
Pro Tip: Never put the turkey skin-side down during carving or serving, as this will wreak havoc on the delicious, crispy skin you worked so hard to create.
Step 6: Enjoy the Feast!
Once your turkey is plated, it's time to serve it to your hungry guests and enjoy the rewards of your labor!

